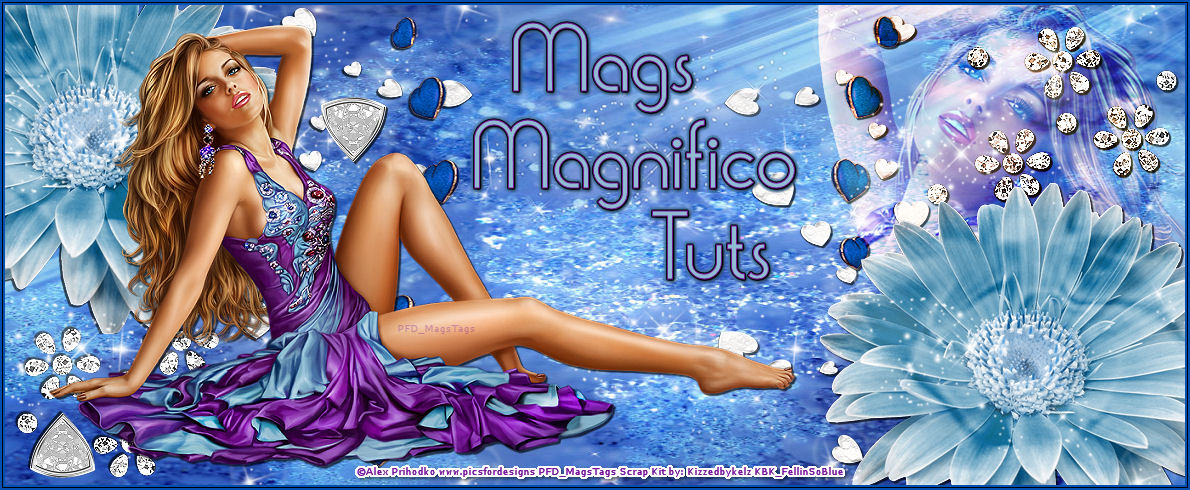

This tutorial was written
by MagsTags on July 27, 2013. Resemblance to any other tutorial is
totally coincidental. Please do not copy or claim as your own or paste
this tutorial anywhere on the Internet without written permission.
Anything you create from this tutorial should be for personal use only.
No profit is to be made from your results. It is strictly forbidden to
Script or Translate my tutorials. You should have some basic knowledge of PSP. I use PSP9 to create my tutorials, any other version should work.
SUPPLIES
SUPPLIES
Tag made with the Awesome
artwork of ©VERYMANY "Vanessa"
You need a license to use her art. artwork of ©VERYMANY "Vanessa"
May be purchased (PFD)
Used the wonderful Scrap Kit
"Sweet Fantasia" By "Creative Crazy Scraps"
You can purchase @ (HBC)
Mask of Choice I used 2 for this tutorial
RoseBlack Creations Mask 4 (RBC) Mask 50 (RBC)
Drop Shadow stays the same unless
otherwise indicated.
C/P = Copy/Paste
ANL= As New Layer
NRL= New Raster Layer
DS= Drop Shadow
NRL - New Raster Layer
R= Resize
LD= Layer Duplicate
NML - New Mask Layer
Let's Begin!
Let's Begin!
Open Tube and Mask (Shift-D) close original.
Elements Used
CCSE34 C/P ANL R-70% Add DS 1,1,35,2
Click Layer Raster 1
CCSE1 C/P ANL Add DS
CCSE16 C/P ANL R-80% Add DS
CCSE18 C/P ANL R-30% Add DS
LD - Bring down a bit
LD - Image Mirror - Move Tool,
Move to the left
CCSE23 C/P ANL R-40% Add DS
LD - Layer Arrange Move Down
CCSE27 C/P ANL R-60% Add DS
Click Layer Raster 9
Click Layer Raster 9
CCSE9 C/P ANL R-60%
Click Layer Raster 1
CCSE5 C/P ANL R-70% Add DS
Click Layer Raster 10
CCSE6 C/P ANL
CCSE40 C/P ANL
LD - Image Flip - Image Mirror
Click Layer Raster 5
Magic Tool Click inside Frame
Selections - Modify - Expand by 10
Layer - NRL
Layer - Arrange - Move Down
CCSP3 C/P Into Selection
Select None
Image Resize 85%
Image Resize 85%
**All Layers Checked**
Add Tube of choice and
Resize if necessary
**All Layers Unchecked**
Click Layer Raster 1
Click Layer Raster 1
Select All - CCSP7 C/P Into Selection
Layer NML - From Image
If your using the same mask as I did
Choose Mask 4 and click OK
Layer - Merge - Merge Group
Select None
LD - Layer Merge Down
NRL - Layer Arrange - Move Down
Select All - CCSP5 C/P Into Selection
Select All - CCSP5 C/P Into Selection
Layer NML - From Image
If your using the same mask as I did
Choose Mask 50 and click OK
Layer - Merge - Merge Group
Select None
LD - Layer Merge Down
LD - Layer Merge Down
Click Layer Raster 3
CCSE20 C/P ANL R-35% Add DS
LD - Move Down Right
LD - Image Resize 80%
again LD - Image Resize 80%
LD - Image Resize 40%
LD - 2 X's and position
again LD - 3 more times and position
Add Copyright Information and Name
Save as PNG!
Your Done
♥Hope you enjoyed doing my tutorial
♥Hope you enjoyed doing my tutorial
as mush as I did making it.♥
I would love to see your results so
I may post them on my Blog.
Email me @ MagsTags
with the Tutorial Name
"PTU "Sweet Fantasia" TUTORIAL"
on the Subject Line.
Hugs, MagsTags
07/27/2013
I may post them on my Blog.
Email me @ MagsTags
with the Tutorial Name
"PTU "Sweet Fantasia" TUTORIAL"
on the Subject Line.
Hugs, MagsTags
07/27/2013
